Repairing the Kurakake Game Boy
A couple of weeks ago I bought myself a red Nintendo Game Boy of off eBay.
This one was listed as “JUNK”, so a non-working unit.
I’ve dubbed it the Kurakake Game Boy, because it has a sticker on the back with the name of the previous owner: N. Kurakake.


Inspecting the Game Boy
Upon opening the battery compartiment, I saw this :
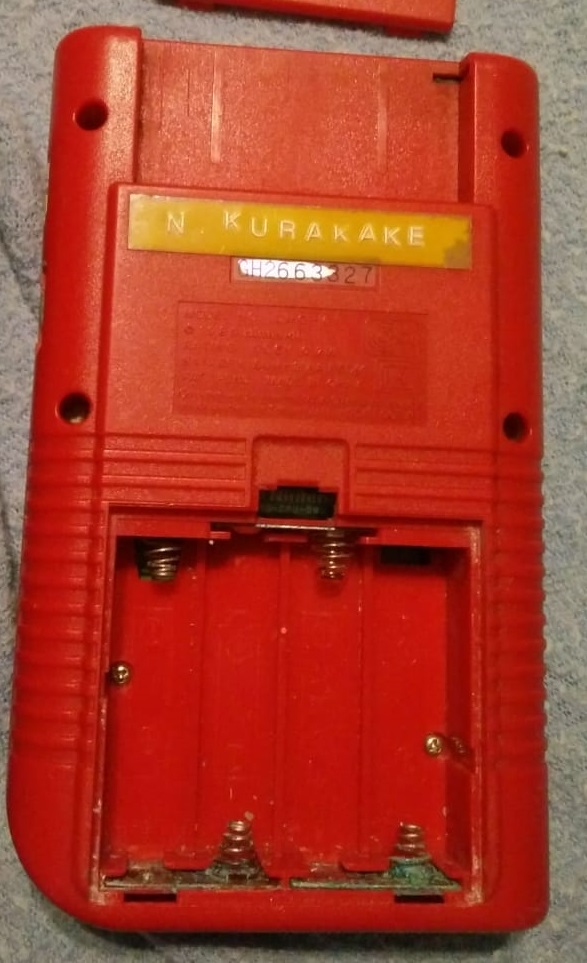
That’s really bad…
I tried putting in batteries, but there’s just too much corrosion so the Game Boy doesn’t turn on.
Looking at the motherboard of the Game Boy I can see corrosion there too.
.jpg)
.jpg)
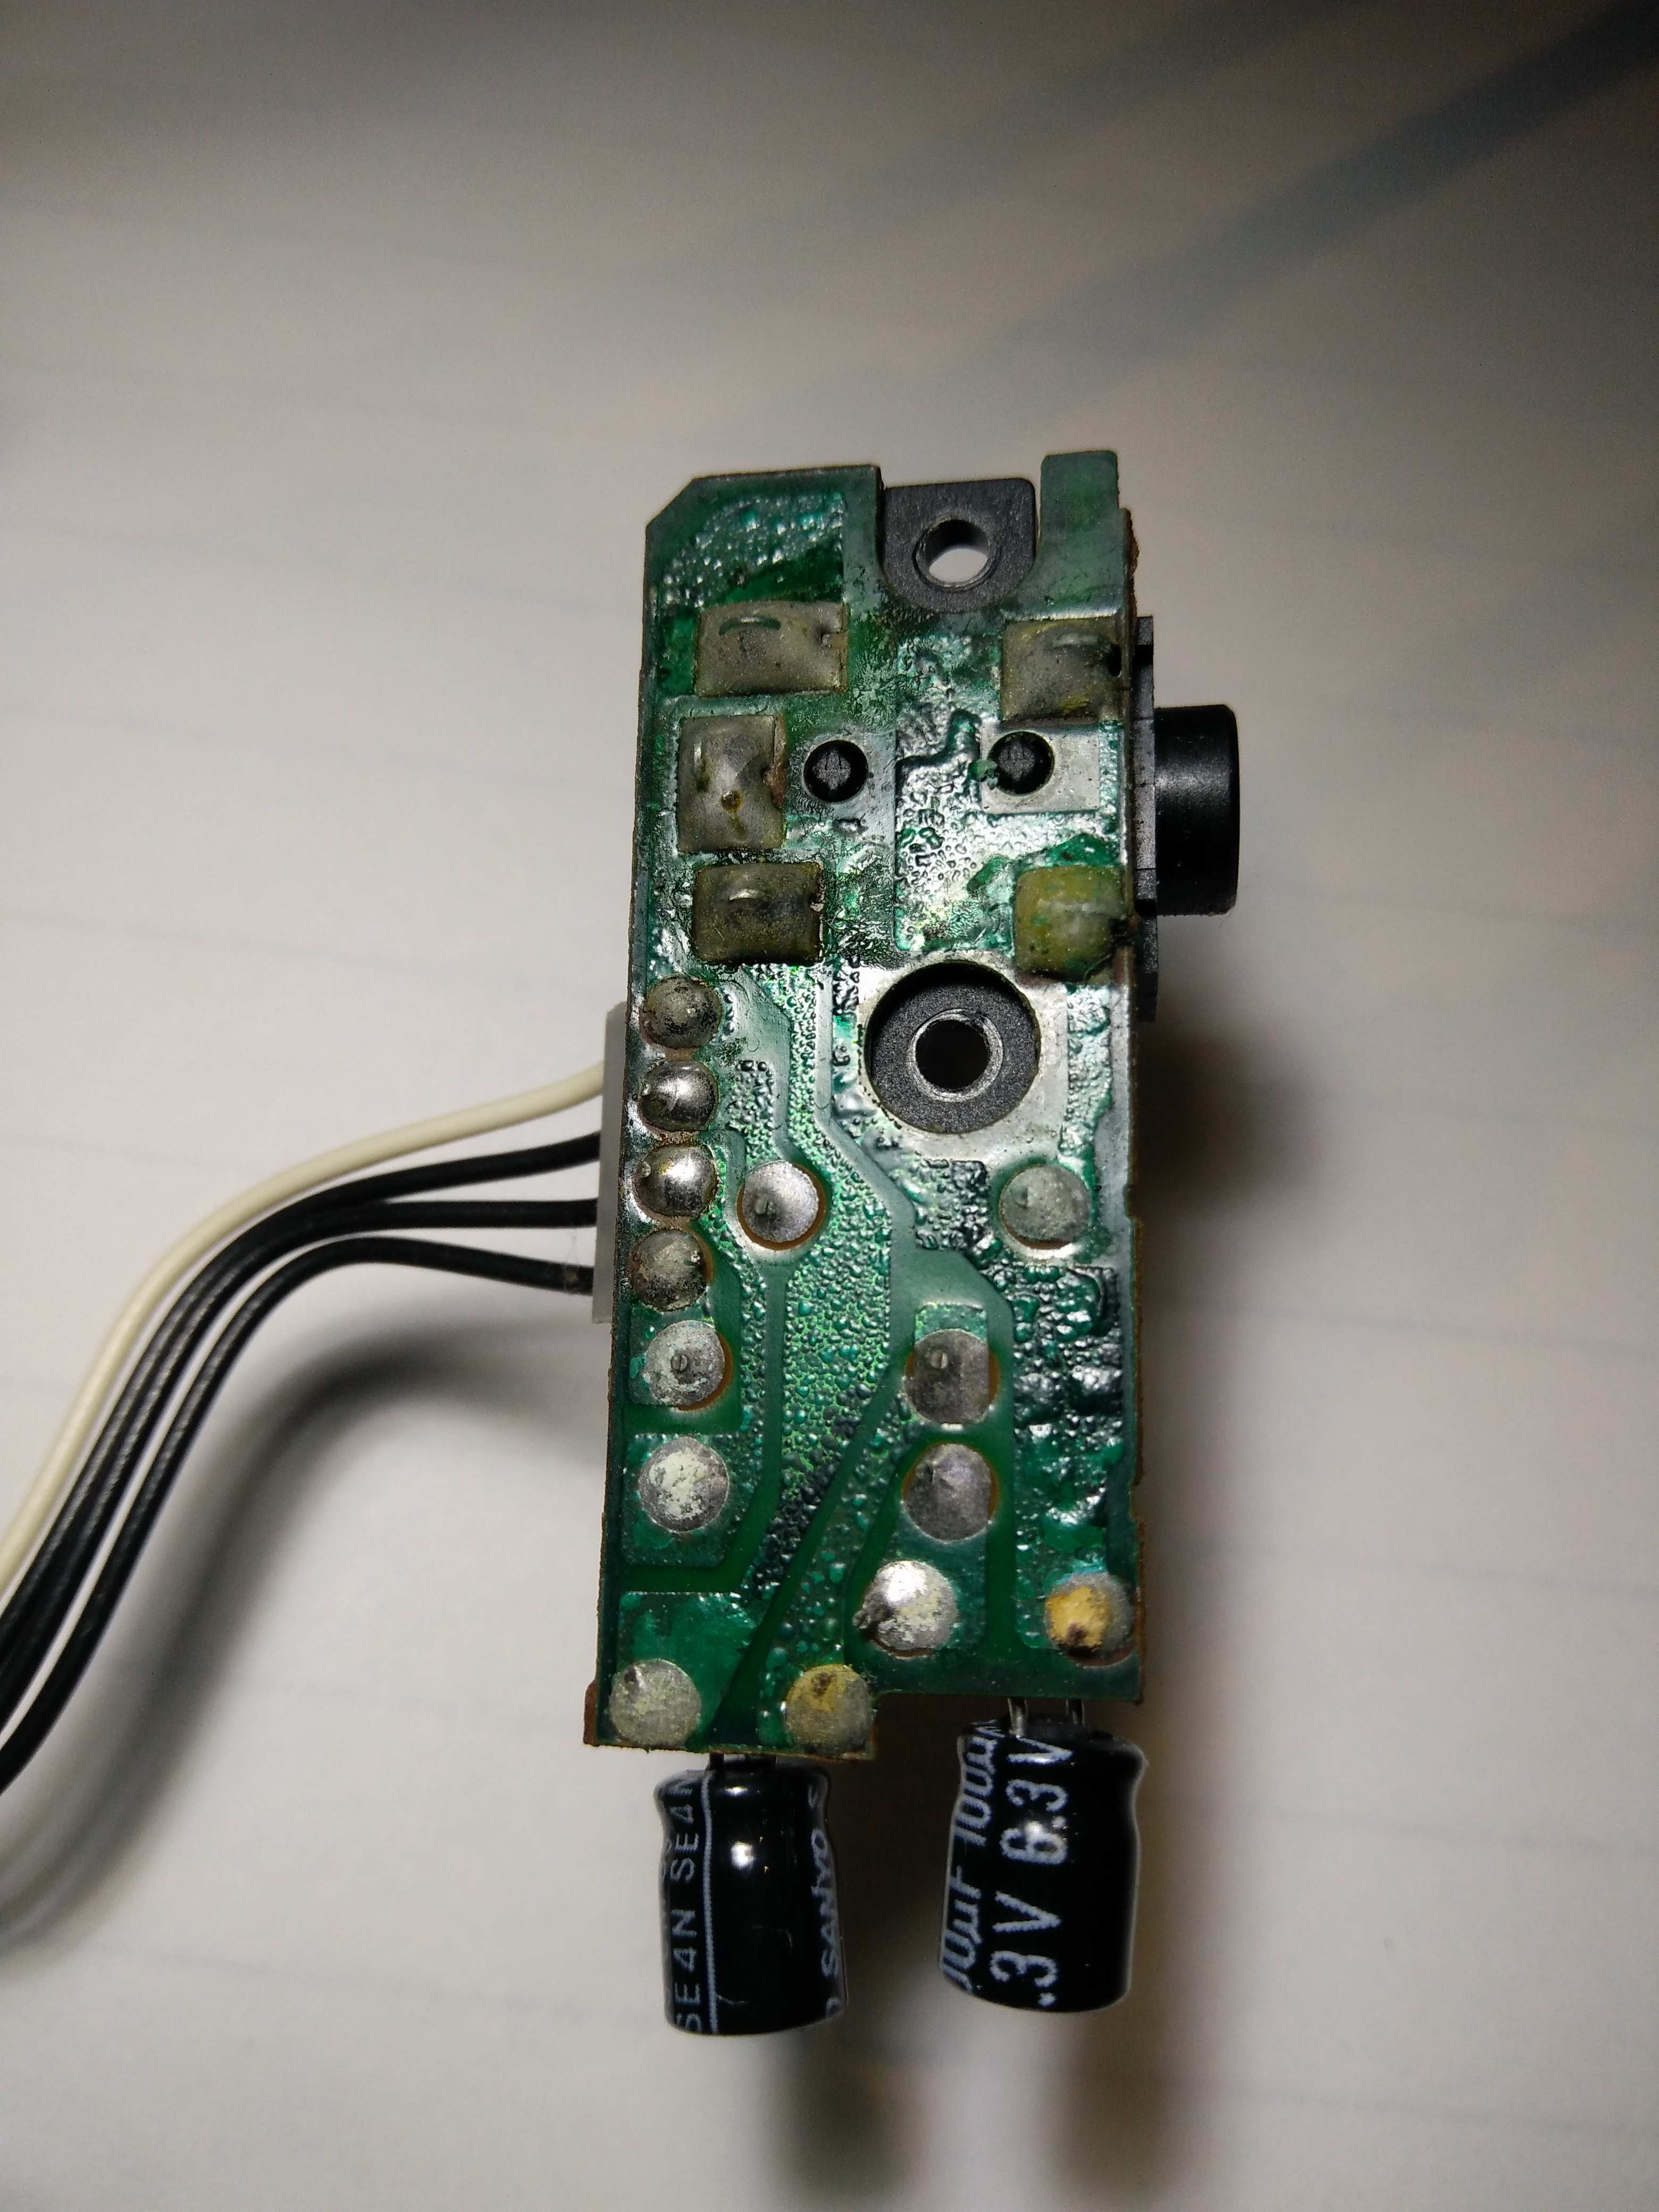
The audio jack PCB is completely corroded.
It’s so bad that I’m thinking of redoing the PCB entirely.
Cleaning battery contact
I started with the battery contacts first.
Removing them is fairly easy. These have a little tab on the back.
You just have to push the tabs in and then you can push the contacts out.
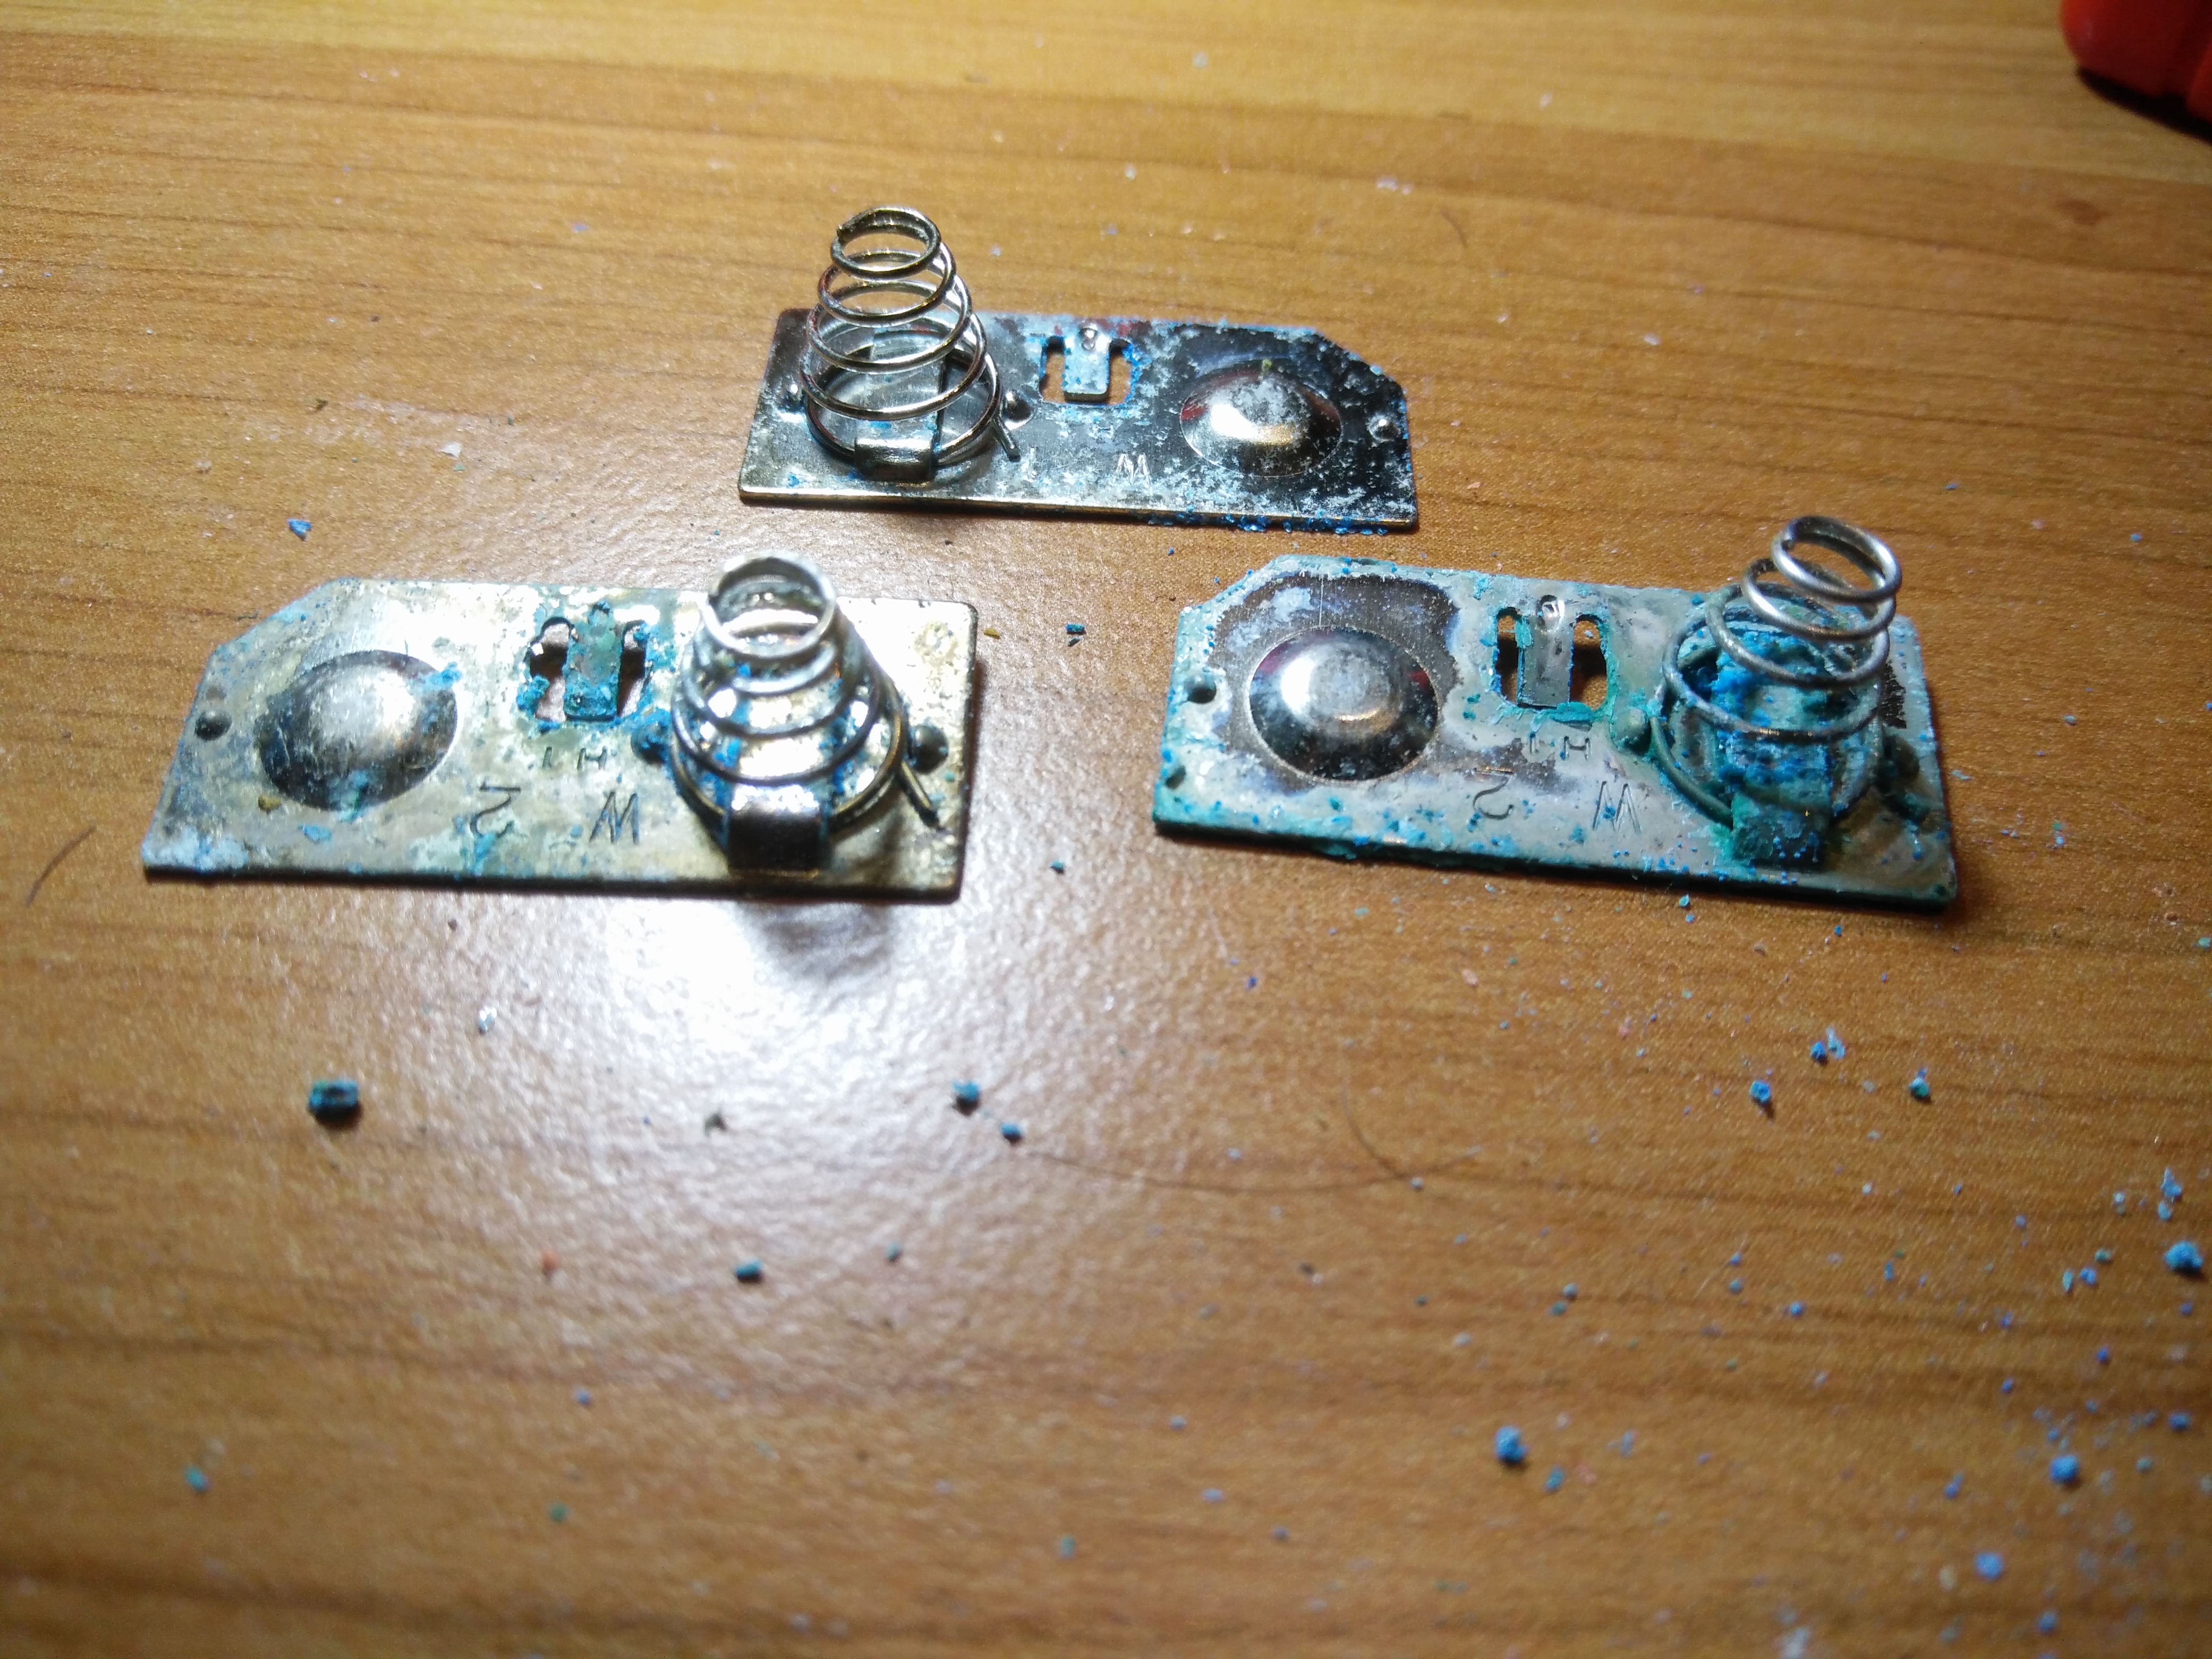
I cleaned the contacts first with water and soap, then Isopropyl Alcohol.
Some spots were very corroded so I had to remove it by scratching it off with a small flathead screwdriver (I didn’t have anything else).
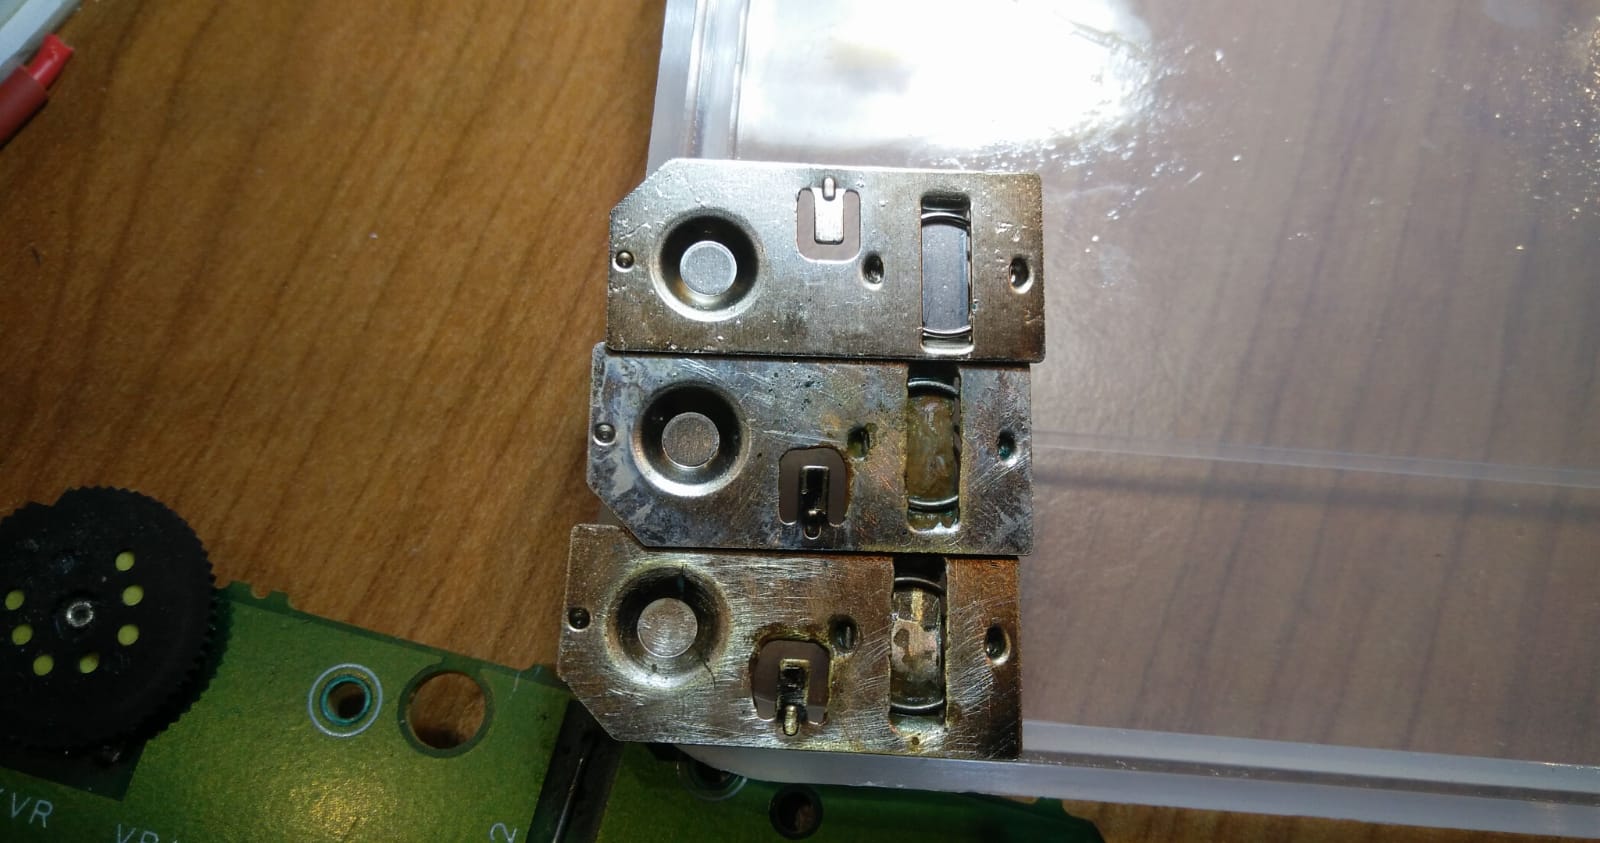
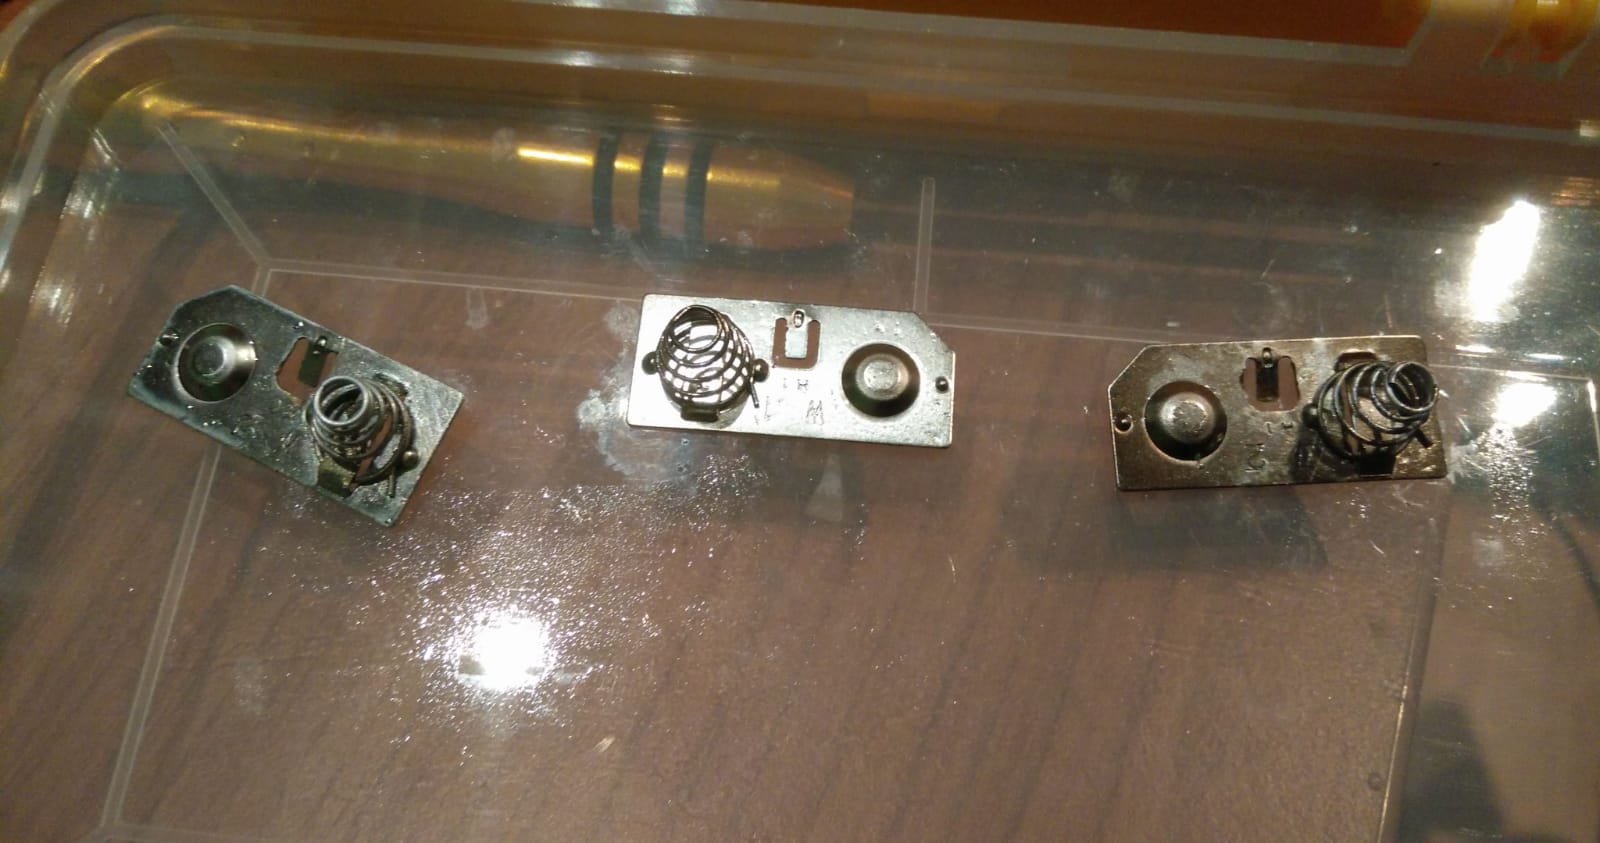
I put the contacts back in and they look good now.
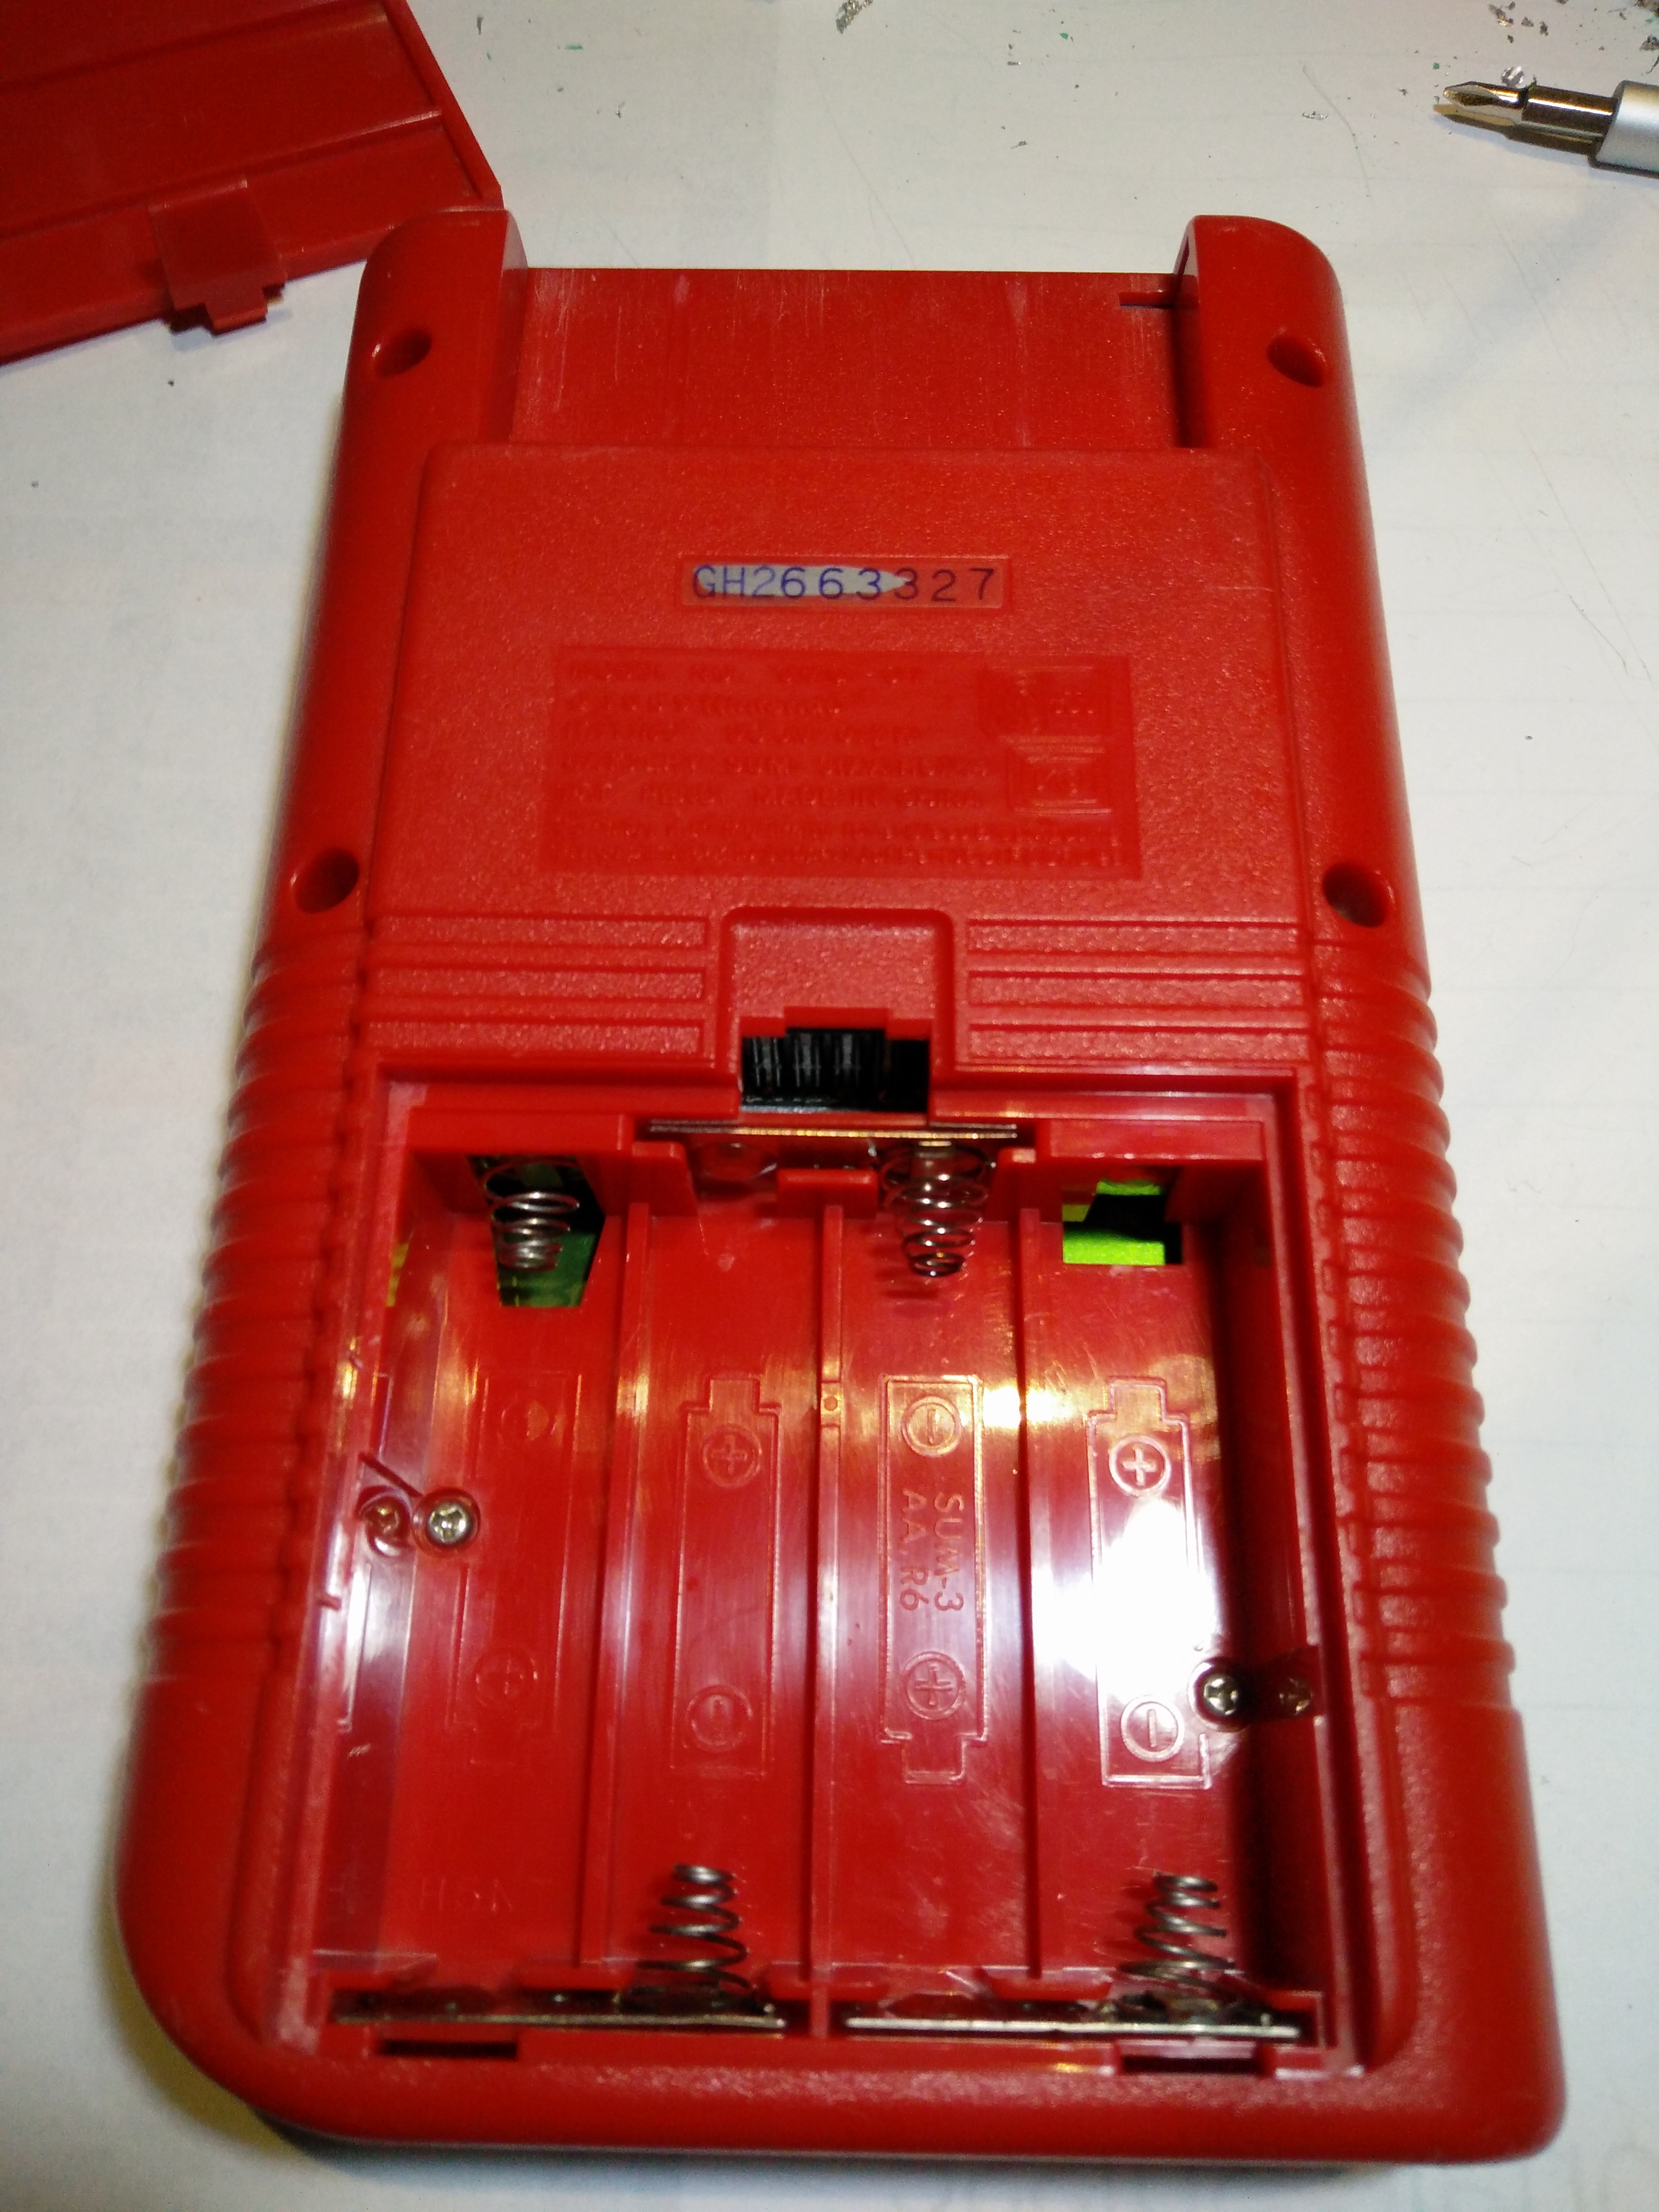
I put in some fresh batteries and it started!
This tells me a few things:
- The motherboard is fine, no corroded traces to the point they’re broken.
- The audio works, but cracks a bit.
- The screen is impeccable, no lines or dead pixels.
Removing corrosion from the motherboard
As mentioned before, when I opened the Game Boy you could see some corrosion on the motherboard.
This was worse than I had thought. With the point of my tweezers I could very easily scrape off the solder mask.
.jpg)
Trying to desolder components from the motherboard, peels the solder mask off the board too.
I’ve never desoldered anything that looked as bad as those battery contacts through holes.
I could litteraly peel of the solder mask that was behind the cartridge connector!
.jpg)
The good thing here is that the copper underneath wasn’t corroded at all.
At this point I had removed the audio jack PCB, see top right corner of the next picture. Keep this in mind for the next chapter.
.jpg)
I was afraid that the copper traces would start to corrode just from the moisture in the air.
Not having any solder mask paint or coating on hand I applied a thin layer of solder.
.jpg)
.jpg)
I admit it doesn’t look great, but it should protect the copper traces.
After putting it all back together, I turned it on and… no sound.
An afternoon lost
Why did the audio stop working? Broken trace due to corrosion?
The speaker is still fine, so that’s not it.
The ribbon cable between the LCD board and the CPU board is fine.
The audio amp is not outputting audio… That’s weird.
I have to say it wasn’t easy to follow traces due to them jumping from top layer to bottom layer.
Plus, this version of the CPU board has epoxy blobs instead of ICs.
You can see the epoxy blobs on the last picture in the previous chapter.
Using my oscilloscope I measured PWM out of the CPU, so that’s fine. The potentiometer on the side for volume control is fine too.
The PWM goes to the amplifier, but nothing comes out of it.
I was a bit worried I blew the amplifier up at this point.
Not knowing what to do I opened my other Game Boy which had the same CPU board, with the same epoxy blobs.
Using my multimeter I found a discrepency on one or two traces going to the amplifier.
Following these traces I found out that they go to the audio jack board.
Could the audio jack board have some feedback to the amplifier?
I soldered the bad audio jack board to the main board and what do you know, the sound is back.
I’m glad the audio is back, but I’m frustrated it took me an afternoon to figure that out.
